Common Controller Problems and Simple DIY Troubleshooting Tips
There is nothing quite like the feeling of settling in for a long gaming session. Your favorite game is loaded, your headset is on, and you are ready to go. Then it happens. Your character drifts slowly to the left for no reason. A button does not respond during a critical moment. Or worse, your controller simply will not connect.
These moments are frustrating. They pull you out of the game and into troubleshooting mode. But here is the good news: most common controller problems have simple fixes. You do not need to be a tech expert or buy a new controller every time something goes wrong. With a little knowledge and a few basic tools, you can diagnose and fix many issues yourself.
In 2026, PC gaming controllers are more advanced than ever. Whether you use an Xbox controller for PC, a PS5 controller PC, or a third party gamepad, they all share similar components that can wear out or act up. This guide will walk you through the most frequent problems and show you how to fix them with simple DIY steps.
Why Controllers Develop Problems
Controllers are tough little devices. They get dropped, thrown, squeezed, and used for thousands of hours. Over time, this takes a toll.
Wear and tear is the biggest factor. Analog sticks contain small sensors that eventually wear down. Buttons have rubber contacts that can lose their spring. Cables bend and break internally.
Dust and dirt sneak into every gap. They interfere with button contacts and stick sensors, causing erratic behavior.
Software issues can also mimic hardware problems. Outdated drivers, conflicting programs, and incorrect settings can make a perfectly good controller seem broken.
The key to fixing any problem is knowing exactly what is wrong. That is where a good diagnostic tool becomes essential.
Using a Gamepad Tester for Accurate Diagnosis
Before you start taking things apart, you need to know what you are dealing with. A gamepad tester is your best friend for this. It is a web based tool that shows every input from your controller in real time.
You can visit The Gamepad Tester to check your controller. The tool works with any browser and requires no downloads. Just connect your controller, press any button, and watch the on screen display.
Here is what a gamepad tester helps you identify:
Stick drift shows up as movement on screen when you are not touching the sticks. The tester shows exact axis values, so you can see even tiny amounts of drift.
Unresponsive buttons are obvious when you press a button and nothing lights up on screen.
Trigger problems appear as incomplete fills when you pull the triggers. The trigger should go from empty to full smoothly.
Connection issues become clear when inputs cut in and out or the controller disconnects during testing.
Vibration problems can be tested with the built in rumble tests. You will feel immediately if one motor is weaker or silent.
Using a tester takes the guesswork out of troubleshooting. You know exactly which parts are failing before you pick up a screwdriver.
Fixing Stick Drift
Stick drift is the most hated controller problem. Your character moves on their own, your aim drifts, and it ruins your gameplay. Here is how to fix it.
Step 1: Try Software Calibration First
Sometimes drift is just a calibration error, not hardware failure.
On Windows 11, go to Settings > Bluetooth & Devices > Controllers. Find your controller and select Device Properties. Look for calibration options.
On Windows 10, go to Control Panel > Devices and Printers. Right click your controller and select Game Controller Settings > Properties > Settings > Calibrate.
Follow the on screen instructions to reset your stick centers. Test again with the gamepad tester. If the drift is gone, you are done.
Step 2: Clean the Stick Mechanisms
If calibration did not work, dirt is the next suspect.
You will need:
- Small screwdriver set
- Isopropyl alcohol (90% or higher)
- Cotton swabs
- Plastic prying tool (optional)
- Remove the controller’s back cover. Look up a teardown video for your specific model before starting.
- Locate the analog stick modules. They are the boxes under each stick.
- Look for the small openings where the stick pivots.
- Dip a cotton swab in alcohol and gently clean around the base of the stick.
- Move the stick around to work the alcohol into the sensors.
- Let everything dry completely before reassembling.
- Test with the gamepad tester.
Many cases of early stage drift are just dust interfering with the sensors. Cleaning often restores normal function.
Step 3: Replace the Stick Module
If cleaning does not help, the potentiometer inside the stick module is worn out. This requires replacing the entire module.
You can find replacement stick modules online for most popular controllers. The swap requires soldering on some models, while others use ribbon cables. Watch detailed repair videos for your controller before attempting this.
For many gamers, this is the point where they consider a new controller. But if you enjoy repairs, replacing a stick module is satisfying and extends your controller’s life.
Fixing Unresponsive Buttons
Buttons that do not respond or require hard presses are usually caused by dirty contacts or worn rubber pads.
Clean the Contact Surfaces
- Open your controller carefully. Keep track of all screws.
- Locate the rubber pad beneath the problem button.
- Remove the rubber pad and clean both sides with isopropyl alcohol and a cotton swab.
- Clean the circuit board contact point below the pad.
- Let everything dry fully.
- Reassemble and test.
This fixes most button issues. The alcohol removes the thin layer of oil and dirt that builds up over time.
Replace Rubber Pads
If cleaning does not work, the rubber pad itself may have lost its conductivity. The small carbon pad on the bottom can wear out.
Replacement rubber pad sets are inexpensive and available for most major controllers. You simply swap out the old pad for a new one. This is much easier than replacing individual buttons.
Check for Firmware Updates
Sometimes button mapping issues come from software, not hardware.
Check your controller manufacturer’s website for firmware updates. Connect your controller and run any available updates. This is especially important for newer controllers that may have launch bugs.
Fixing Trigger Problems
Triggers should pull smoothly from 0% to 100%. If they feel sticky, do not reach full range, or register inconsistently, here is what to check.
Clean Trigger Mechanisms
Dirt and debris can accumulate in the trigger assembly.
- Open the controller.
- Locate the trigger mechanism.
- Look for any visible dirt or grime.
- Clean around the pivot points with alcohol and cotton swabs.
- Check the sensor area for debris.
- Reassemble and test with the gamepad tester.
Check Spring Tension
Some triggers use springs that can weaken over time. If the trigger feels loose or does not return fully, the spring may need replacement. Replacement spring kits are available for popular models.
Calibrate in Software
Some games and operating systems allow trigger calibration. In Windows, check your controller properties for any calibration options specific to analog triggers.
Fixing Vibration Problems
Vibration motors add immersion to games. When they stop working, you lose that physical feedback.
Test Each Motor Individually
Use the gamepad tester’s vibration test feature. It lets you fire the left and right motors separately. This tells you if one motor is dead or if both are working.
Update Drivers
On Windows, outdated drivers are a common cause of vibration failure.
- Open Device Manager
- Look for your controller under Human Interface Devices
- Right click and select Update Driver
- Restart your PC and test again
Check Game Settings
Some games have separate vibration toggles. Make sure vibration is enabled in the game’s audio or controller settings.
Inspect Motor Connections
If vibration works in the tester but not in games, the problem is software. If vibration fails in the tester, the hardware needs attention.
- Open the controller
- Locate the vibration motors
- Check that wires are securely connected
- Look for any broken wires or loose connections
- If a motor is silent, it may need replacement
Replacement vibration motors are available online. They usually plug in or solder to the main board.
Fixing Connection Problems
Controllers that disconnect randomly or fail to connect altogether are frustrating. Here are the most common fixes.
For Wired Controllers
- Try a different USB cable. Many cables are charge only and do not carry data.
- Try different USB ports. Back ports on desktop PCs often work best.
- Disable USB power saving in Windows.
- Update USB drivers in Device Manager.
For Bluetooth Controllers
- Remove the controller from Bluetooth devices and pair again fresh.
- Move closer to your PC. Bluetooth range is limited.
- Reduce interference from Wi Fi routers and other devices.
- Update Bluetooth drivers.
- Try a Bluetooth dongle on a USB extension cable to move it away from the PC case.
Check Power Management Settings
Windows likes to save power by turning off USB ports and Bluetooth adapters. This can disconnect controllers.
- Open Device Manager
- Find your USB controllers and Bluetooth adapter
- Right click each, select Properties
- Go to Power Management
- Uncheck “Allow the computer to turn off this device to save power”
- Restart your PC
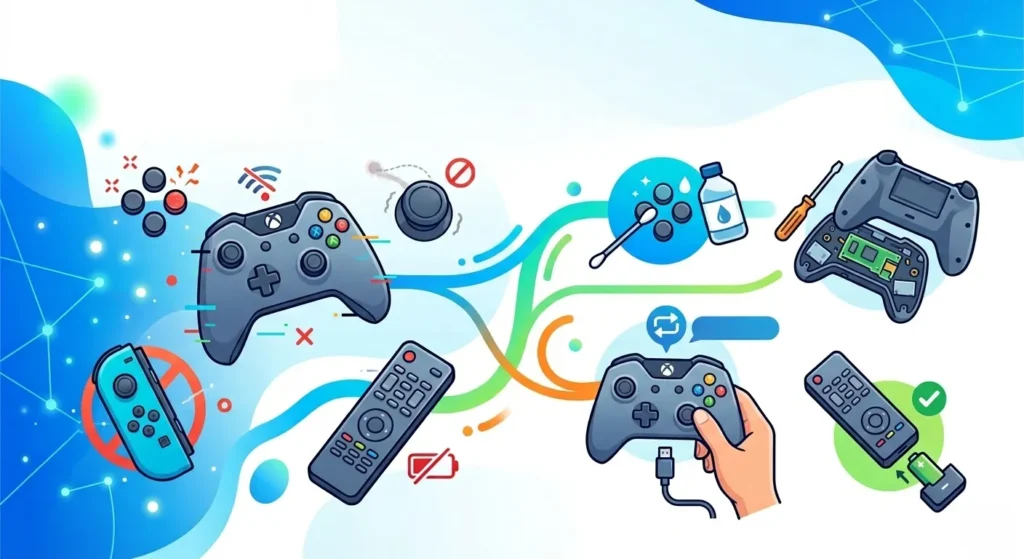
Preventive Maintenance Tips
A little care goes a long way in preventing controller problems.
Keep controllers clean. Wipe them down regularly with a slightly damp cloth. Do not let food crumbs accumulate around buttons.
Store properly. Do not leave controllers on the floor where they can get stepped on. Keep them on a desk or in a drawer.
Use a cable strain relief. If you play wired, do not let the cable bend sharply at the connection point. This is where cables break most often.
Update firmware. Check for updates every few months. Manufacturers fix bugs and improve performance.
Test regularly. Run a quick test with a gamepad tester every few weeks. Catching problems early means easier fixes.
When to Replace Instead of Repair
Not every problem is worth fixing. Here is when to consider buying a new controller.
Physical damage like a cracked shell, broken USB port, or liquid damage often costs more to repair than a new controller.
Multiple failing components suggest the controller is at the end of its life. If you have stick drift, two dead buttons, and vibration failure, it is time for a new one.
Your controller is very old. If you are using a controller from five or more years ago, a new one will have better features, longer battery life, and better performance.
You want new features. Sometimes the best reason to upgrade is to get hall effect sticks, extra back buttons, or better ergonomics.
Final Thoughts
Controller problems are inevitable. These devices work hard and eventually show wear. But with the right approach, you can fix most issues yourself and keep your favorite gamepad in action for years.
Start with a good gamepad tester to diagnose exactly what is wrong. Then work through the simple fixes: cleaning, calibration, and driver updates. Only when those fail should you consider opening the controller for deeper repairs.
Remember that PC gaming controllers are investments in your enjoyment. Taking care of them and learning basic troubleshooting saves money and keeps you in the game. And when you finally do need a new controller, you will know exactly what features matter most to you.
Happy gaming, and may your sticks always stay centered.
Frequently Asked Questions
How do I know if my controller has stick drift or if it is just game settings?
Use a gamepad tester. Open the tool and set your controller down without touching it. If you see any stick movement on screen, that is drift. If the tester shows the sticks perfectly centered, the problem is in your game settings. Many games have dead zone options that can be adjusted.
Can I fix stick drift without opening my controller?
Sometimes. Try software calibration first. For Xbox controllers on Windows, use the calibration tool in Devices and Printers. For PlayStation controllers, try resetting the controller using the small hole on the back. If these do not work, cleaning the stick sensors usually requires opening the controller.
Why does my PS5 controller work on some PC games but not others?
This is usually due to game support. Some games natively support PlayStation controllers. Others only support Xbox controllers. For games that do not support your PS5 controller PC, use Steam’s controller support or a program like DS4Windows. These translate your controller inputs to Xbox format that all games understand.
How often should I clean my controller?
For regular gamers, a quick wipe down weekly is good. A deeper cleaning every few months prevents buildup. If you eat while gaming, clean more often. Crumbs and sticky residue attract dirt and cause button problems.
What is the best way to test if my controller is working properly?
Use a comprehensive gamepad tester that checks all functions. A good tester will show button presses, stick positions, trigger ranges, vibration motors, and input latency. Test everything after any repair or when you first notice problems. This gives you a complete picture of your controller’s health before you start gaming.